Getting Started with Abby for Cliniko


Requirements

Google Chrome Browser
Active Cliniko subscription
Admin access to Cliniko
5 minutes of your time
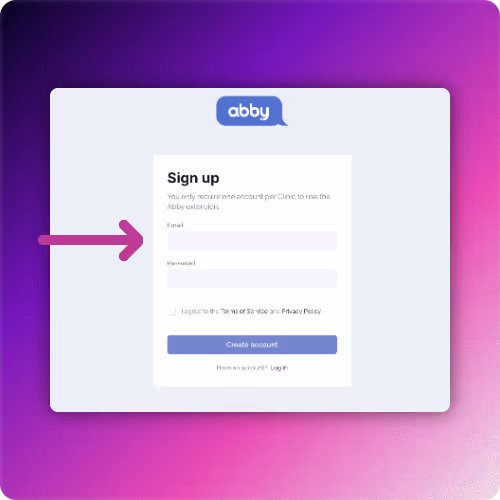
Create Your Abby Account
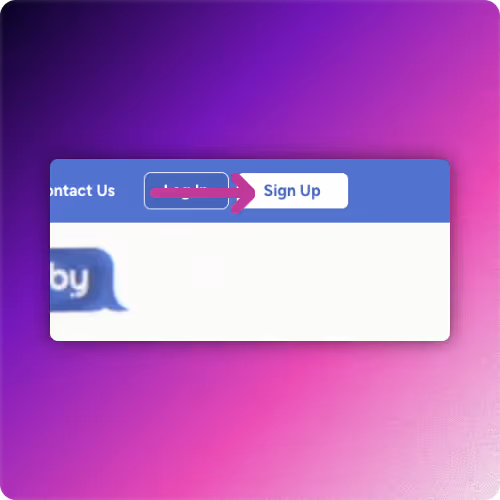
Go to abby.clinic and click "Sign Up"
Active Cliniko subscription
Admin access to Cliniko
5 minutes of your time
Connect to Cliniko
In Cliniko: Click "My Info" (bottom left)
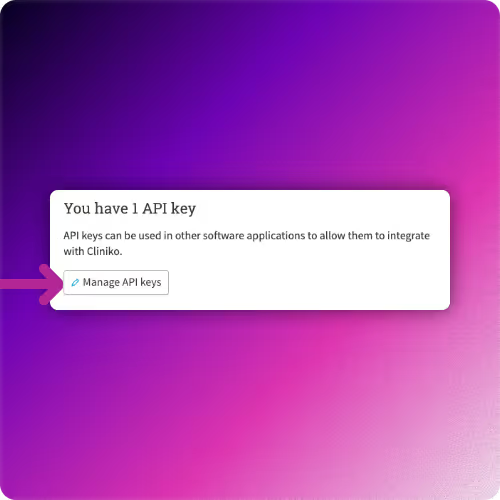
Select "Manage API Keys"
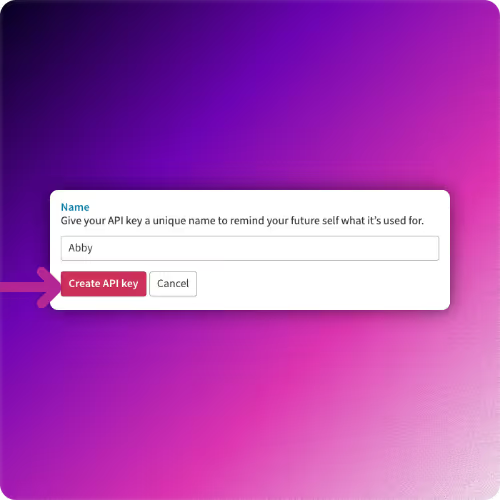
Click "Add an API Key"
Name it "Abby" and click "Create"
Copy the API key
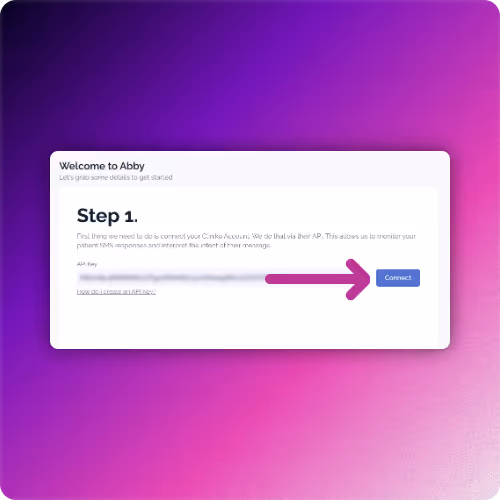
Paste into Abby and click "Connect"
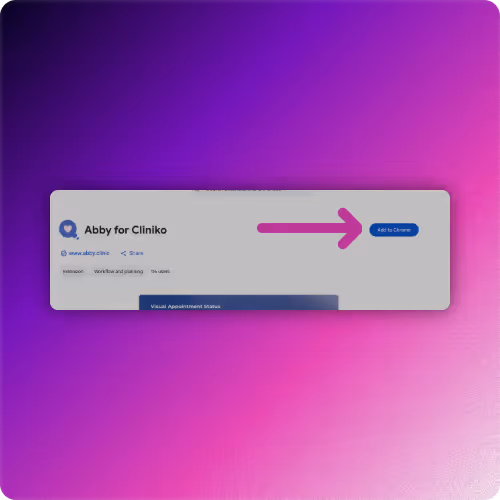
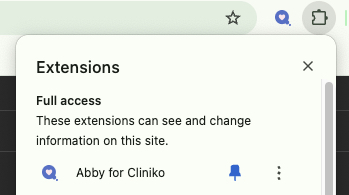
Install Chrome Extension
Check your email for the Chrome extension link
Click "Add to Chrome"
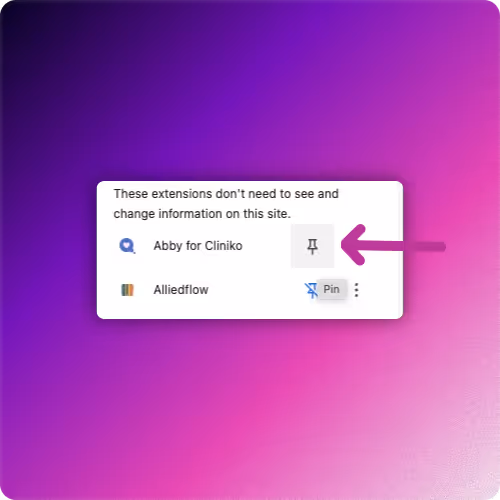
Click the puzzle piece icon (top right of Chrome)
Pin Abby to your toolbar
Enter your Clinic PIN when prompted
You Are Done!
Abby will now monitor SMS responses automatically
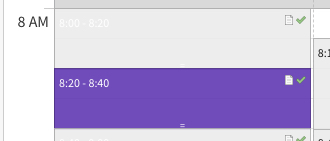
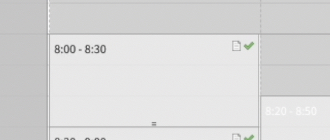
Click the Abby icon in your calendar to see colour-coded appointments
Your team can install the extension using the same Clinic PIN

Top Things to Know About Abby
Abby doesn’t send or receive SMS messages.
It reads and interprets your patients’ SMS replies through Cliniko’s system and updates your appointment book accordingly.
Abby changes the colour of your appointments.
Using a Chrome extension, Abby overlays your Cliniko calendar to visually show which appointments are confirmed.
Abby is proudly New Zealand-made.
Abby was developed by Ben and Gav, owners of Yoonet, after more than a decade of experience helping businesses streamline their administration.
Abby only works with Cliniko.
If you use a different software platform for your outbound SMS communications, Abby won’t be compatible.
Abby doesn’t support email confirmations.
It’s designed specifically around SMS-based appointment workflows within Cliniko.
Abby is built for standard appointment confirmations.
It does not currently handle one-off appointment communication outside the regular Cliniko confirmation process.
Simple pricing. 14 days free trial.
No credit card required.
Only One Account per Clinic -Includes Multiple Locations -
Unlimited Administrators - Up to 24 Practitioners
Free Up Your Admin Team Today!
Ready to make your Cliniko confirmations easier?